Ornaments don’t have to be expensive. In fact, you can make your own wooden ornaments at home. Kids and adults alike enjoy listening to festive Holiday music and bonding over a craft.
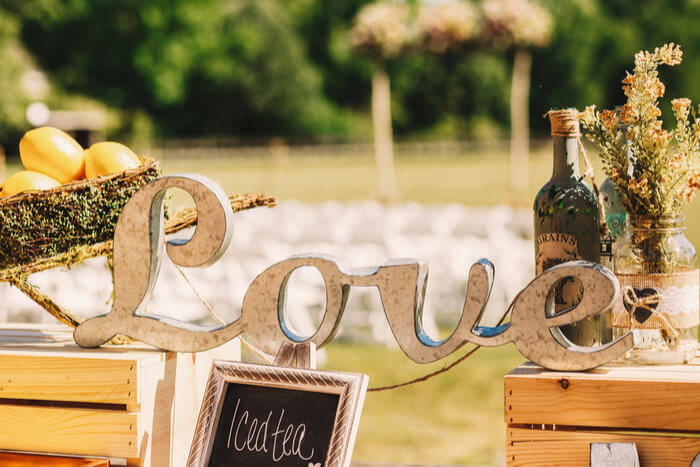
These 5 beautiful wooden creations will look great on a tree, wreath, in the windows, or anywhere else you decide to hang them. Whether you want an easy craft or a difficult one, you will have a fun time making your gorgeous homemade ornaments!
#1: Twiggy Trees
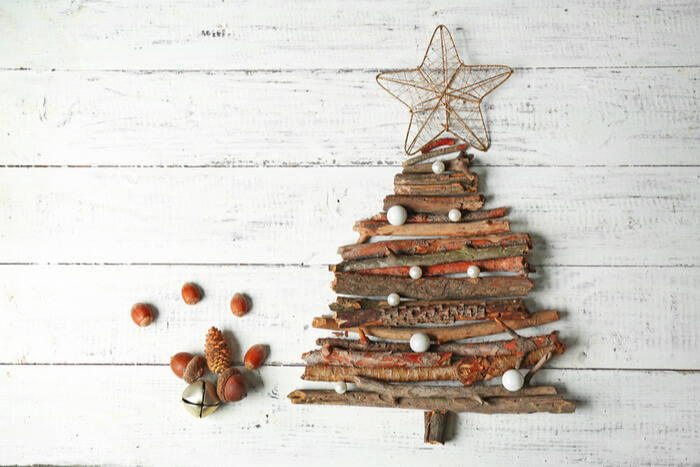
These twiggy trees are cheap and easy to make. To make it even better, kids love gathering sticks! Complete with some wire pipe cleaners and you’ve got yourself a rustic wooden ornament.
Materials
- Twigs gathered outside
- Wooden sticks (available at craft stores and look like tongue depressors)
- Your favorite color wire pipe cleaners, or substitute ribbon or burlap
- Scissors
- Hot glue
- Drill
Instructions
- Gather twigs outside. This is a great job for the kids. You can always make it a fun competition! Just make sure the sticks are different sizes for the top and bottom of the tree.
- Drill a hole at the top of the sticks.
- Using the hot glue, arrange the sticks in a tree shape starting with the smallest at the top and ending with the longest at the bottom. When you are finished it should look like a Christmas tree.
- Let the glue dry.
- Tie your ribbon or pipe cleaner through the hole whatever way you prefer.
#2: Chalkboard Ornaments
Made of wood, these chalkboard ornaments will have your friends, family, and children giggling! You have a few options, so if your family creates these together everyone can make something of their own. Just for fun, have everyone go around and write something different every day until Christmas!
Materials
- Plain wooden ornaments (these can be purchased at craft stores, and there are a variety of different shapes to choose from)
- Chalkboard paint
- Chalk
- Erasers
- Colored paint
- Paintbrushes
- Optional: painter’s tape
- Ribbon or other material to hang the wooden ornament with
- Scissors
- A drill might be needed if the ornament does not come with a pre-carved hole
Instructions
- If there is not a hole at the top, drill one. If there is, go to step 2.
- Decorate using chalkboard paint. You can really get creative with this step. If you want, you can use painter’s tape to create a shape on your ornament. Or, paint the whole ornament in chalkboard. Another option is dipping a portion in paint. Really, the possibilities are endless!
- Let the paint dry.
- Time to paint on words with your choice of color, and then let it dry. If you want to use real chalk, skip this step.
- Finally, tie on the ribbon and you are done!
#3. Little Sleighs
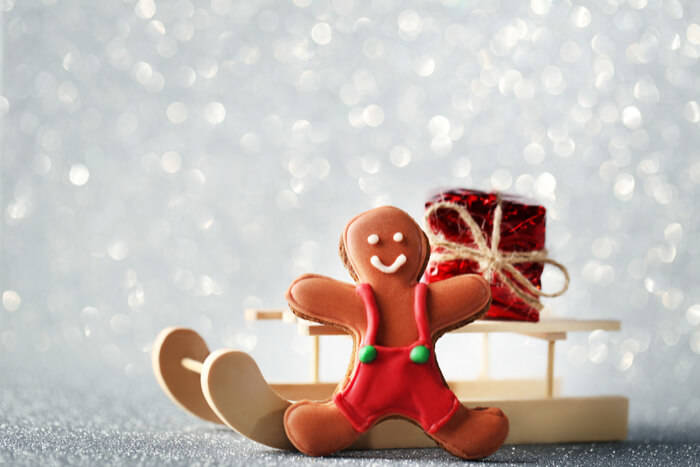
This is the absolute best ornament for children to make. It is easy, fun, and they can really get creative. Let the good times sleigh!
Materials
- Medium craft sticks
- Standard craft sticks (popsicle sticks)
- Hot glue or tacky craft glue (safer for kids)
- Twine or hemp cord
- Paper towels
- Scissors
- Paintbrushes
- Silver acrylic paint
- Red or any color you want for your sleigh
Instructions
- Place 3 of the medium sticks side by side, with the stick in the middle sticking out slightly. Glue them together to make the seat.
- Cut ½ inch off the ends of the medium stick to make a smaller board (should be 1¼
- inch long when finished).
- When the glue is dry, paint these sticks the color you want your sled to be. Red, green, blue, and yellow are all original colors.
- Paint the runners (2 popsicle sized sticks) of the sleigh silver.
- Let all the paint dry.
- Once the paint is dry, stand the runners on their sides. Then, glue the board and seat on the top. The board should be toward the front, and the seat midway between the board and the back of the runners.
- Let the glue dry.
- Glue a loop of twine behind the board to make a place to hang the ornament from.
- If you would like, use a sharpie to label the boards with names, years, etc.
#4. Wooden Balls
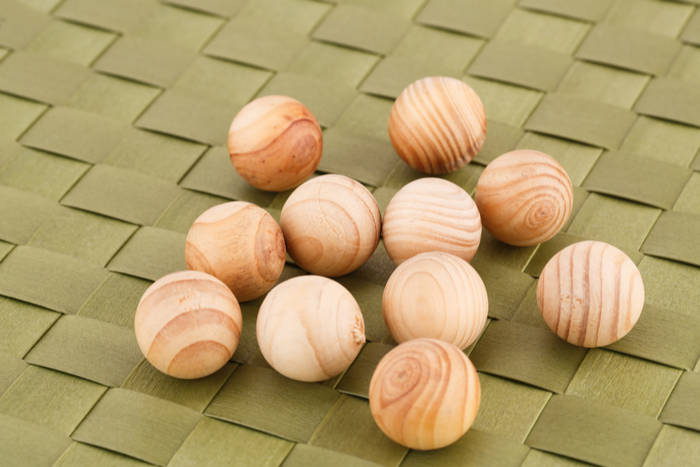
These are easy to make, and super fun for kids. The beauty of these babbles is they don’t have to be perfect. In fact, it’s a lot like dipping an Easter egg in food coloring! Just allow the adults to screw in the top.
Materials
- Wooden babbles of all different sizes. These are purchased in craft stores, and are essentially balls of wood.
- Eye screws
- Glitter paints in red, silver, white, or any other color to fit your Holiday color scheme
- Paintbrushes
Instructions
- By hand, screw the eye screws in what will be the top of the ornament. This can literally be anywhere on the babble.
- Set out paints, and allow the children to dip the wood into the color(s) they choose. Or, allow them to paint on the bobbles with brushes.
- Allow the paint to dry. This is another opportunity to paint on the ornaments.
#5. Clothespin Glitter Flakes
Enough said.
Materials
- Regular clothespins (8 per snowflake)
- Mini clothespins (8 per snowflake)
- White paint (spray or acrylic works)
- Paintbrush
- Glitter
- Glitter glue
- Tacky glue
Instructions
- Take apart the clothespins. Turn them to face each other, and glue them together with tacky glue. Do this with the 8 mini and 8 regular sized pins.
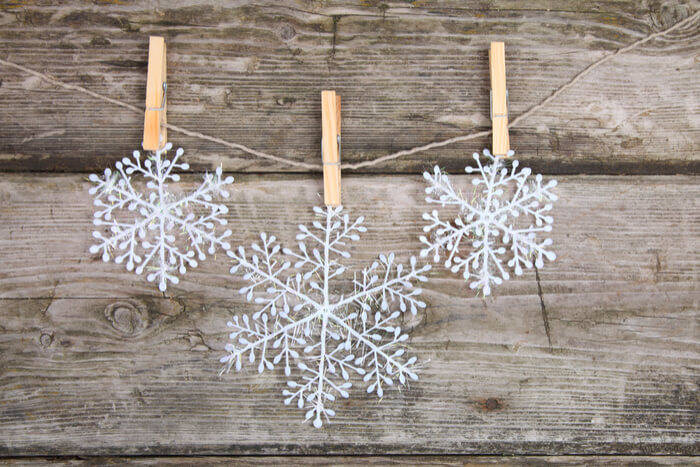
- Once these have dried, glue together the heads (the large size) of the 8 regular clothespins. You should see a snowflake pattern emerge. Do the same with the mini clothespins.
- Let them dry.
- Using white paint, paint both of the snowflakes. If you want to paint both sides, do it in shifts to allow the paint to dry.
- Brush on glitter glue and sprinkle on more glitter.
- To add more depth, glue the small snowflake to the middle of the bigger snowflake.
Pineca is a well-known manufacturer of various wooden garden buildings. Think about owning one?

