It’s the most wonderful time of the year! The squash are ripe, the apples are juicy, and the pumpkins are begging to be picked. Whether or not you decide to go to the patch or the store this year, there should be at least 1 real pumpkin somewhere in your home. Other than that, feel free to use our 4 fake pumpkin ideas for Halloween decorations.
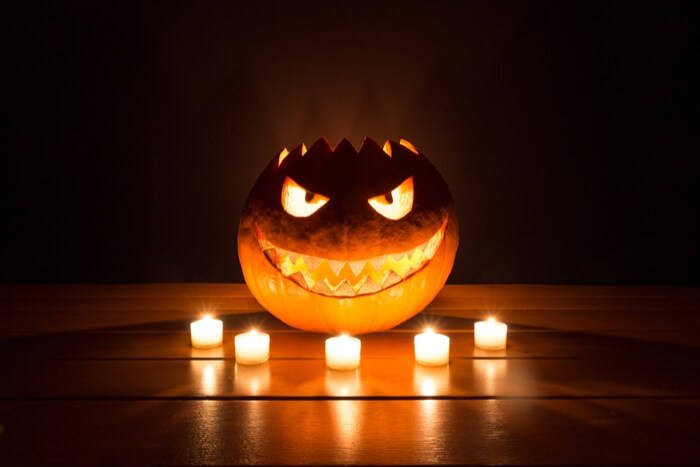
4 Pumpkin Ideas for Halloween Decorations
#1: Pumpkin Book
This is a quick, easy, and inexpensive way to make a unique pumpkin. All you need is a book, hot glue, scissors, orange spray paint, and a branch from your yard!
Instructions:
- Remove the cover from the book, taking care to keep the spine together.
- Take your sharpest pair of scissors and cut the pages into a half circle (pumpkin) shape.
- Bend back the book so you can glue the spine together. Then, put a thin line of glue between each page as close to the spine as you can. This will help all of the pages stay put in a cohesive pumpkin shape.
- Using spray paint, give the whole thing a nice coat. It doesn’t matter if the inside of the pages get as orange as the outer edges of the pumpkin.
- Use your branch from the backyard and hot glue it to the top of the spine for a nice stem.
- Add whatever other decorations you want. Surround your fake pumpkin with real leaves and acorns, or set the pumpkin book on top of some hay bales!
#2: Metallic Pumpkins
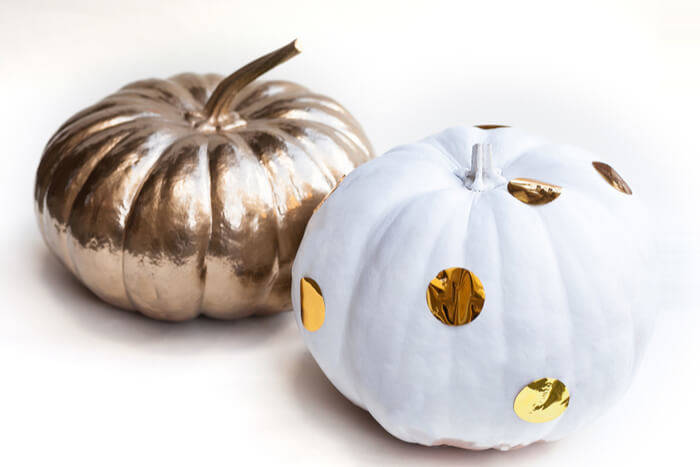
Although the finished product looks slightly familiar, most people will never guess your metallic pumpkins are actually drier vents! This décor is extremely easy to make, and are classy enough to impress just about any Halloween snob. You can even keep these around through Thanksgiving!
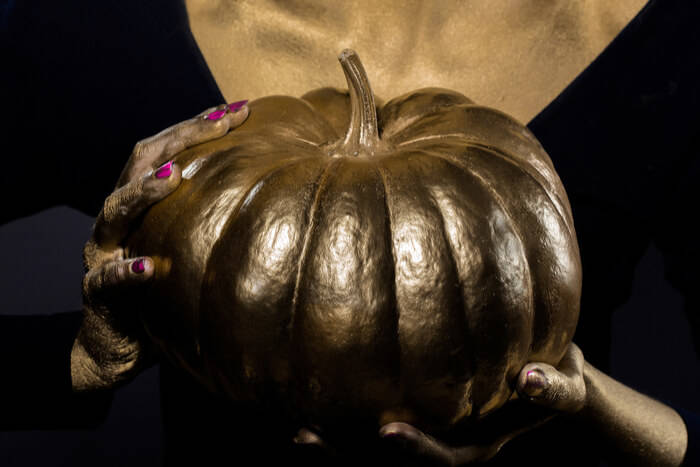
You Need:
- Hot glue
- Dryer vent
- Scissors
- Spray paint (white, black, orange)
- Sticks or thick grapevines
- Glitter (copper, orange, silver)
- Glue
- Water
- Paint brush
Instructions:
- Using scissors, cut a piece of drier vent as long as you would like your pumpkin. Then, use your hot glue to glue the two ends together.
- If you have a silver drier vent, we recommend spray painting it orange, black, or white. You can do a thorough job, or just enough where the metallic silver shines through.
- If you want a white pumpkin, you can also just purchase white drier vents. You can also use the orange or black paint on these vents.
- After the paint dries, water down some glue and paint a thin layer on top of the pumpkin. Then, sprinkle whatever color of glitter you choose. Copper looks great on white and orange pumpkins, whereas orange and silver glitter goes best on black pumpkins. Orange pumpkins and orange or silver glitter also work!
#3: Spooky Candy Door Hanger
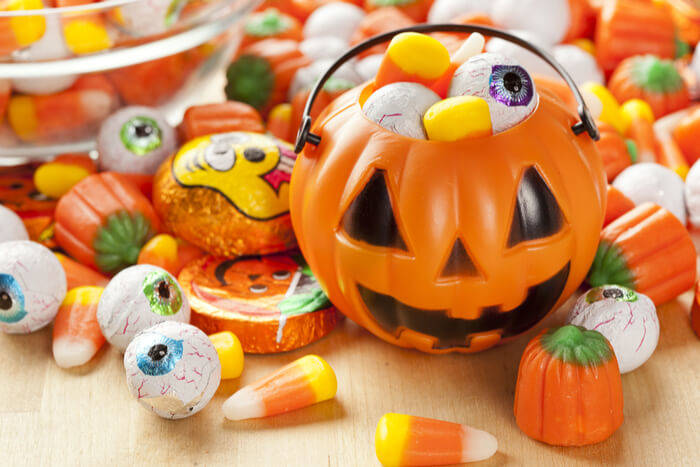
Attach this candy hanger on your tiny home and add some spook to your front door! Whether you decide to add candy or simply use it as a decoration, your neighbors will love the creativity. Not to mention it allows people to leave spooky message!
You Need:
- Chalkboard
- Half pumpkin (buy one or cut a foam pumpkin in half)
- ½ inch screw and drill
- ½ inch nail and hammer
- Black paint
- White paint
- Paintbrushes
- Wood burning tool and razor blade attachment
Instructions:
- The first thing to do is trace the mouth on your pumpkin. Use a pencil, and trace where you want the eyes, nose, and mouth. If you plan to stuff it with candy, make sure the mouth is wide enough and there is enough room at the bottom to hold the candy! Don’t want to use it for candy? Draw a creepy mouth!
- Once the mouth is drawn on, go ahead and fire up your wood burning tool. It’s hot, so be careful as you cut out the face. If you don’t have one of these, you can use a knife or blade cutter.
- Now it’s time to paint the eyes! Use the pencil to outline what you want them to look like, and then use your black and white paint to create! If you want a nose, now is the time to draw it on.
- Let’s attach your pumpkin to the blackboard. Depending on the type of pumpkin you bought, you can screw it onto the board and add a screw to the bottom for even more security. We recommend using super glue for a more stable solution.
- Hang your blackboard on the door and fill with candy!
#4. Pump-King Topiary
These jack-o’-lanterns will scare the life out of nighttime passerby’s. Place inside if you want to scare yourself. Want a friendly pump-king topiary? Use friendly faces!
You Need:
- Flower pot
- 1 inch wood dowel
- Foam or other inexpensive Halloween pumpkins. Tip: you can easily create your own cheaper than you can buy them.
- Spray paint for the pumpkins
- Primer
- Corded lights (color of your choice) or LED tealights
- Extension cord (optional)
- Flowers (optional)
Instructions:
- If the pumpkins you bought aren’t colored, or aren’t the color you want, go ahead and prime them. If you are making your own pumpkins, cut out the faces and hallow them out before you prime.
- After the primer has set, spray paint the jack-o’-lanterns. You can make all of them the same color or alternate colors. Some people like to do black and purple, others black and orange, and some black and white.
- Spray paint the dowel rod black.
- Drill a 1-inch hole all the way through 4 of the pumpkins. If you want them to sit one on top of the other like snowmen, drill straight down. We recommend tilting each one a bit to the opposite side. Either way, use a pencil and make a mark where you want to drill.
- The last pumpkin should only be drilled into as far as necessary to secure the rod. However, you don’t want the dowel to come up through the top.
- If you are using your own string lights, thread them into and through the pumpkins. If you are using LED tealights, place them inside of the pumpkins individually.

