There is a common saying that a house without a strong foundation can’t weather a storm. Why do people fail to realize that the same can be said about smaller structures, like a wooden shed? Many instances of people’s sheds being destroyed due to strong wind or pummeled with snow in wintertime can be seen and it all comes down to the same issue: those wooden sheds were not built on a strong foundation or finished as well as they should have been.
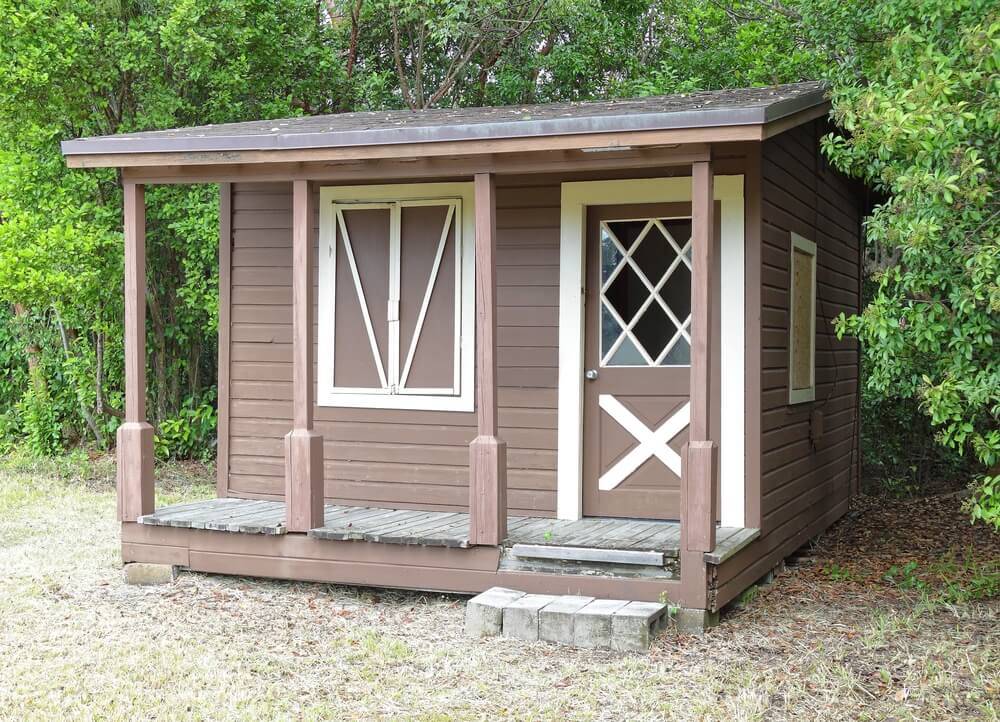
Properly Caring For Wooden Sheds
Metal sheds are easier to install and maintain because they don’t really require any work to be constructed. They mostly come prefabricated, they have their own settings to slam into the ground and keep it anchored and metal withstands most inclement weather.
But there are downsides. Metal sheds are ugly eyesores that don’t match any aesthetic choices. They are expensive and if something breaks inside of the metal it is expensive to replace or fix. They make a ton of noise in wind, rain or hail. They are difficult to insulate and so don’t properly protect things inside of them.
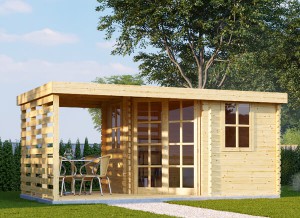
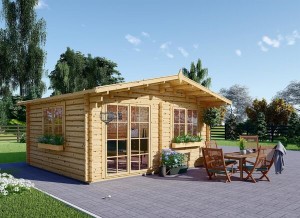
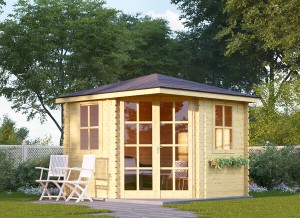
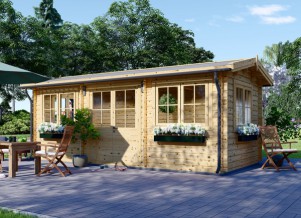
Wooden sheds are often preferable. They are attractive, work with any aesthetic, can come prefabricated or custom built and are very sturdy. You can insulate them better and ever use your shed for more than just storing tools...many people are turning their sheds into guest houses, garden rooms and more.
These sheds do require upkeep, however.
Laying a Good Foundation
First, you need to find a good place for your shed. If the area is wet and swampy then no foundation is going to sit for long, as it will sink into the ground and cause your shed to slant. If the area is prone to rainwater runoff then you will want to lay at least 2-inches of gravel first, then set your foundation on top of that.
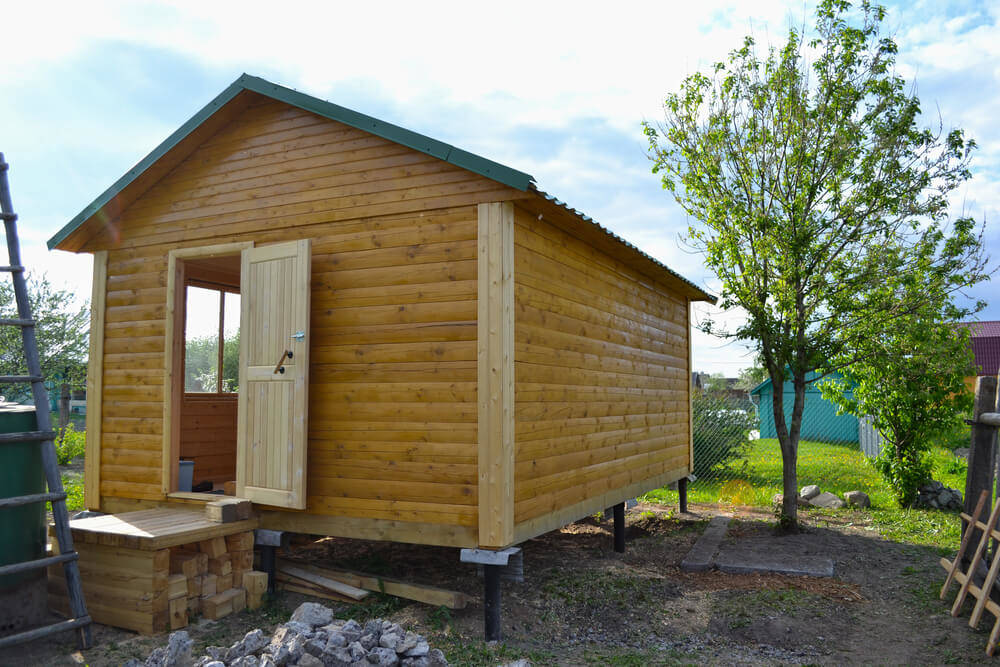
The simplest way to build a strong foundation is to use solid cinder blocks (not hollow ones!) within a short distance of one another across the entire space of the wooden shed. If you space them too far out that will weaken the flooring and cause damage as people walk across it.
Wood timbers may also be used in the same way. However, they have to have been pressure treated to mitigate risk of rot and they don’t have the same shelf life as cinder blocks. This could lead to problems down the road, as moisture builds over time.
Wanting a larger shed? Then you will have to invest in poured concrete foundation that offers better weight ratings, reinforced with pressure graded wooden posts that are specifically made for ground contact.
A proper foundation is always the first step to having a long lasting, safe shed that won’t fall apart in a few years, or if the weather gets rough.
Finishing The Shed
Wood has to be treated in order to keep it strong and healthy. Luckily it doesn’t take that much effort or money to do so.
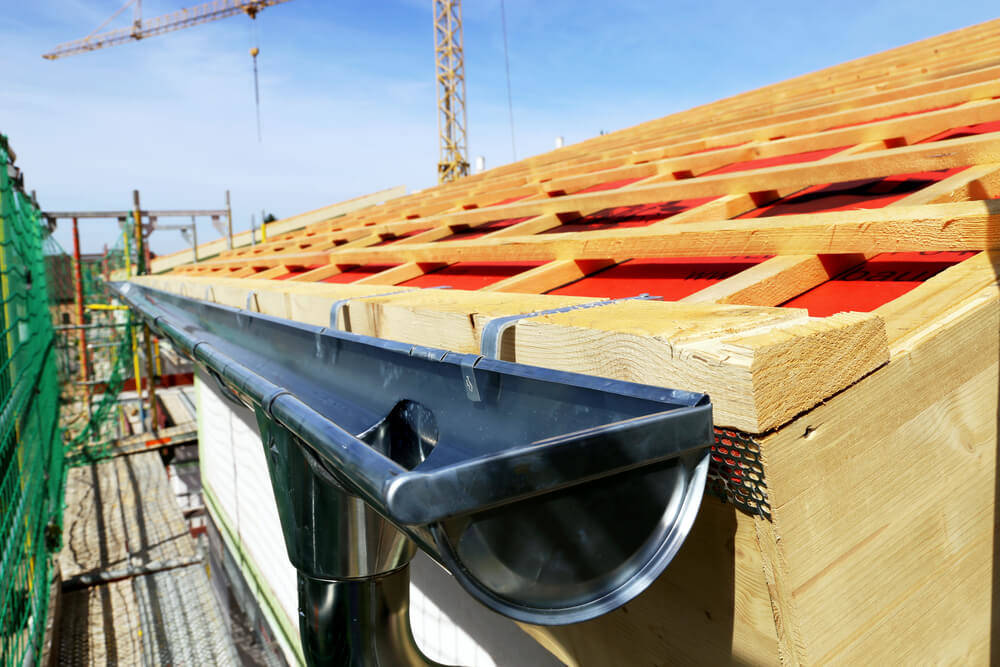
Start out by installing gutters on the shed, similar to what you would have on a house. Also install a gutter extender that will send rainfall further from the shed to protect the wood from too much water gathering in one spot and weakening the base.
Next, select the right kind of staining. There are many ecofriendly and effective options for you to choose from, which will provide a safe stain that seals the lumber. You will have to do this again every three to five years, depending on the area you live in. Some factors that could lead to more frequent staining include:
* Living in an area that gets a lot of rain through the year.
* Living in an area with high temperatures and a lot of sunlight through the year.
* Living in a humid area where the humidity is over 50% for long stretches over the year.
* Living in an area with infestation problems specific to wood, such as termites.
If any of the above applies to your region, you may want to consider staining every three years rather than five. This task will cost a few hundred dollars to a few thousand dollars, based around the size of your wooden shed. It can be done on your own, or you can hire someone who specializes in wood finishing to do it for you.
The interior has more options for finishing. A common trend these days is to add extra insulation before installing the final wall. This helps trap in heat during colder months to protect whatever is kept within the shed, as well as cooler air during hotter months if you plan on spending time there, such as working on projects or turning it into a garden room.
Plywood is a popular finish for the interior as there isn’t much chance of moisture rotting the wood. If the lumber used for the exterior is strong, plywood makes an easy to install, cost efficient finish that won’t compromise on the quality of the shed itself. It is also lighter weight to allow the insulation to do its work, as well as easy to replace slats if you run into some damage down the line.
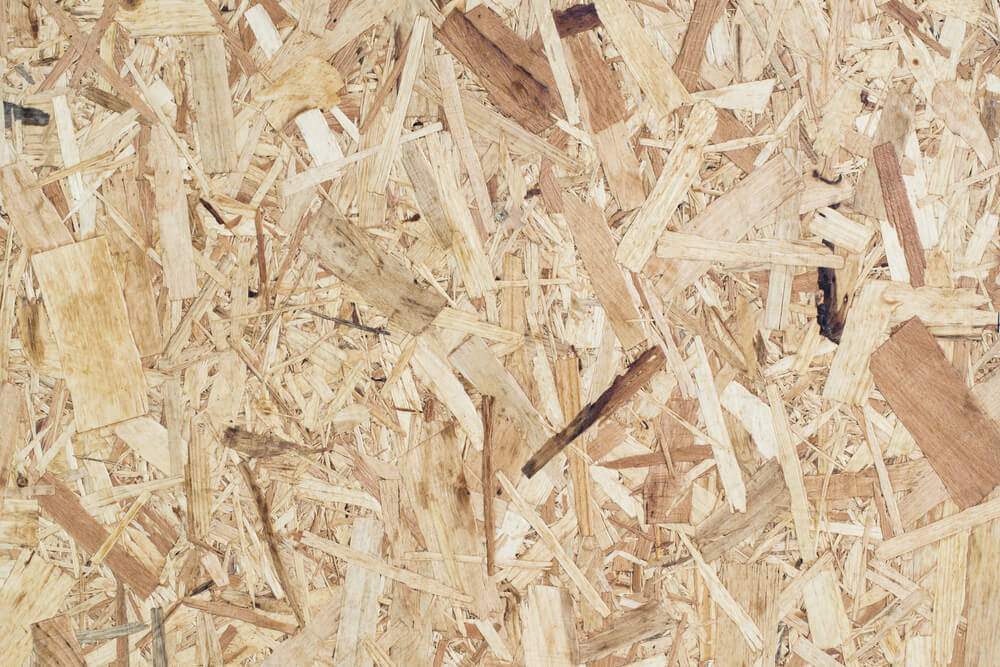
You will want to treat the wood inside, as well as outside. This is much easier if you just buy pretreated lumber before putting them up, so you don’t have to stain the inside of the shed (it can take time for the chemical smell and fumes to wear of in an enclosed space, sometimes several days).
Finally, make sure you are regularly checking your shed for signs of damage. This includes gaps or warping in the wood, cracks and holes, patches of less staining, rot and water damage and signs of infestations. Sheds in general came be home to some nasty pests, like termites, black widow spiders and even small rodents and animals like racoons.
With some proper care and preplanning you can have a strong, long lasting wooden shed that can be used for anything your heart desires.

