When you think about compost, what comes to mind? If you are like most people, you are probably thinking about a stinky, fly infested pile of leftovers. While there is some truth to this, your pile doesn’t have to smell bad, and you can easily hide it out of immediate sight.
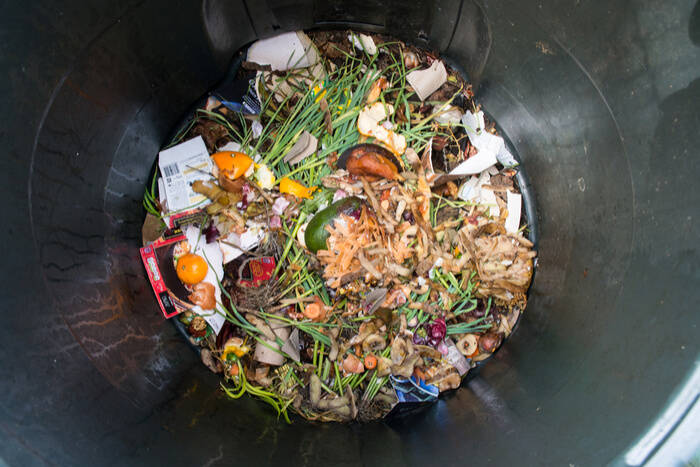
In this article, we will discuss how to make compost. Even though the process is pretty simple, there is a process that must be followed. Below, we will teach you how to make compost in a variety of situations and locations. Let’s start doing good for our garden and our world!
Types of Compost
There are two different types of compost: hot and cold. Cold compost consists of throwing your organic materials in a container. This method will take about a year before it yields garden-ready results.
Hot composting requires 4 ingredients to turn the heat up: water, air, nitrogen, and carbon. Each must be present to feed the organisms that break down the lawn clippings and organic trash. When done correctly, you can have high-quality compost ready in 3 months!
Some people prefer to speed up the compost process by using worms. The result is called vermicompost. If this sounds up your alley, get some redworms (also known as red wigglers) at your local garden center. You can also find them online.
What You Are Allowed to Compost
Not everything can be thrown in the compost bin. In fact, there are some strict guidelines around what you can and cannot include. The following is a list of organic materials you can compost:
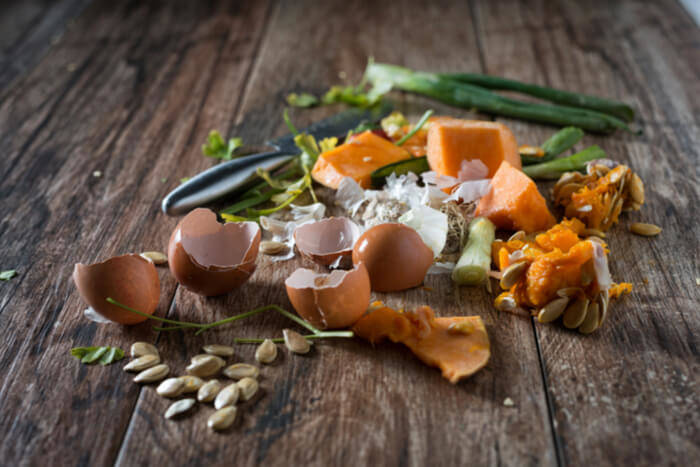
• Eggshells
• Coffee grounds
• Fruit and vegetable scraps
• Grass
• Pruned plant bits
• Small twigs and chips of tree bark
• Shredded newspapers
• Cardboard toilet paper rolls
• Untreated wood sawdust
• Straw
• DRY leaves
What You Are Not Allowed to Compost
There are quite a few things you should never, under any circumstances, throw into your compost bin. Some attract animals while others encourage unhealthy growth and critter infestations. Here is a list of the worst offenders:
• Onions (they drive away necessary earthworms)
• Dairy
• Weeds
• Animal feces (including from your pets!)
• Human feces (save this for the extremely experienced or you could get sick)
• Pressure treated wood chips
• Diseased or insect infested plant clippings
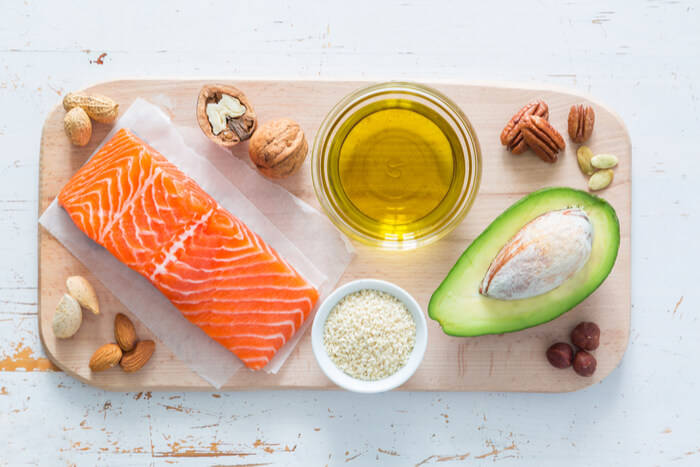
• Meats including fish and bones
• Oils, greases, and fats
Tumbler, Pile, or Bin
There are a few things you should consider when deciding whether you want to use a tumbler, pile, or bin. The size of your garden will determine if you can get away with a tumbler, bin, or small pile. If your garden is large you will need room for at least one large pile.
Another thing to think about is aesthetics. Do you want your composting pile in plain view? Are you going to build something to contain your pile? Will you opt for multiple large bins? One way we’ve found to hide the pile is to position it strategically behind your wooden shed.
Consider your personal strength. Turning compost can be difficult and tedious. So, you may want to invest in a tumbler or worm bin. No matter what you decide, your compost needs to be located in an area of partial to full sun. Not to mention easy to access by you.
Making Your Pile: Greens and Browns
There are two different kinds of materials in creating compost: the greens and the browns. Greens are such things as food scraps, grass clippings, eggshells, and coffee grounds. Browns include twigs, small cardboard, dry leaves, straw, and shredded newspapers.
If you want to compost the “official” way, save up enough browns and greens to fill your compost bin 3 feet deep. When you add the items, layer them starting with brown on the bottom. This theoretically works to balance smell and functionality. You want 30 browns to one green.
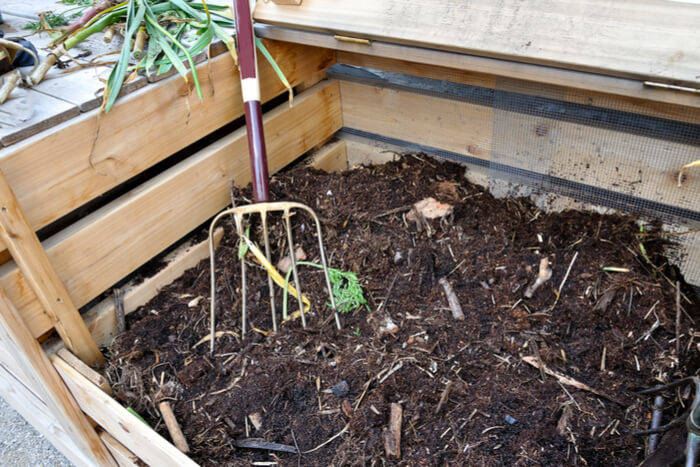
If you don’t feel like saving smelly food items, don’t worry. Go ahead and throw everything on the pile as you get it. Just turn it as you do. Soggy and solid piles need items like dry leaves. They key is to add more carbon to the pile.
Is your compost pile too wet? Does it smell? Add more browns. Is your pile too dry? Do you see way too much brown? Add some more greens and water it until it is a bit moist.
Maintenance
There are three primary things you need to do to maintain your compost tumbler, pile, or bin. You must water and stir so you can get a beastly amount of nutrient rich compost. These steps are important to keep the moisture level optimal for decomposition.
Water Your Compost
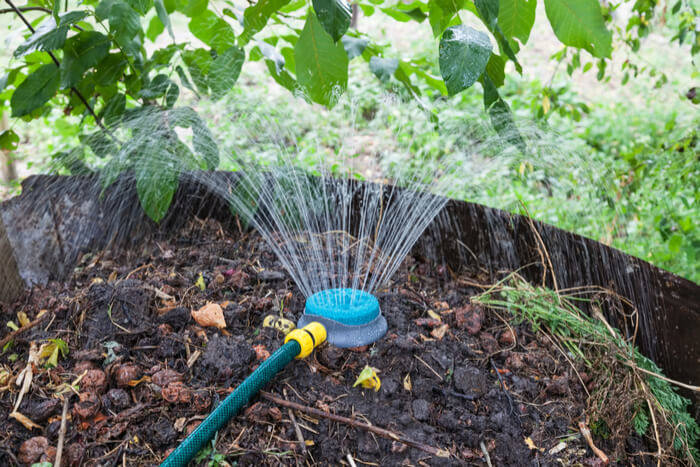
As a general rule, you want the contents to be as moist as a wrung-out dish sponge. That means you shouldn’t be able to wring out any moisture. One way you know your materials are too wet is if they begin to smell. If too much rain is causing the issue, cover your pile with a tarp.
Typically, you will need to sprinkle water over the pile on the regular if your area doesn’t have rain in the summer. You know you are on the right track if your compost feels warm in the middle. If you don’t want to touch it, you can purchase large thermometers.
Stir it up
Stirring is the most important step of how to make compost. There are a couple of ways you can do this. First, you can spin it in a tumbler on the daily. Second, use a shovel or rake to turn the pile on the weekly. You can also shove a garden fork in the mix and wiggle it around bi-weekly.
Be Patient
The final step is to be patient. As we mentioned earlier, you may have to wait up to a year for compost to be ready. When it is, it will no longer give off heat. Instead, it becomes crumbly, dry, and brown. The wait will be worth it!

