Cabbages not only taste good but they also come packed with loads of nutrients that make them some of the best vegetables to cultivate. You can enjoy them in various ways ranging from steaming to fermenting all the way to having them raw to reap all their benefits.
When planting cabbages, you should note that they do best in the cold weather. All you have to do is to ensure that they get adequate sunlight and water and that the soil conditions are right. In this way, you can get a harvest in the fall and the spring. Another thing about cabbages is that they can grow healthy even when exposed to some frost though they cannot stand the heat. For these reasons, it is best to plant them during the fall. Are you wondering how to grow cabbage? Find out how in a few simple steps.
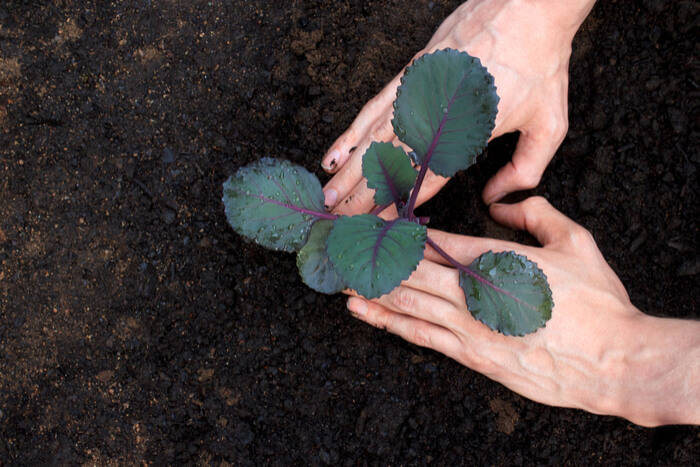
Seed Stage
The best way to grow cabbages is by starting with the seeds. You can opt to get seedlings from a local nursery, but given that seeds readily germinate, you can always start from scratch. You need to plant the seeds inside and for this, you can use your garden shed. Here, the seeds will remain for at least six to eight weeks as you wait for the last frost. If you wish, you can start the planting towards the end of summer, and this will result in a fall harvest. The ideal planting period all depends on your locality so be sure to check the local forecast as you start.
The garden shed provides the right conditions for the germination of seeds. Here, they have access to adequate light and air, and you can monitor the amount of water that they get. They are also safe from adverse weather conditions that they would experience outside and the chances of germination are quite high.
How to plant the seeds
For you to plant the seeds, you would need to prepare seed starters which you would then fill with potting soil. This type of soil is excellent when it comes to planting seeds as it contains loads of nutrients. Additionally, it drains well, and this ensures that the seeds do not end up rotting. You can choose to use another type of soil but where you can get this kind, be sure to use it.
Use your finger to make a half-inch hole in the seed starter and place two to three seeds in it. Follow up by covering the hole with soil. The essence of using more than one seed per hole is that it improves the chances of germination. Do not worry about what will happen if more than one seed germinates as you can separate them at the transplanting stage.
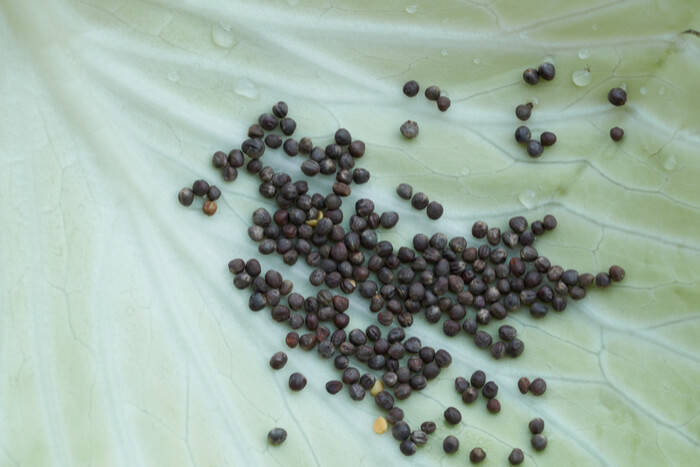
Ensure that you water the seeds immediately after planting them. As you do so, aim to make the soil moist as opposed to wet. In the garden shed, the conditions are under regulation and as a result, the seeds will not experience much drying out in the weeks that follow. However, be sure to keep an eye on the soil and where necessary, ensure that you add water to the seeds.
The temperature is a critical factor that determines whether your seeds will germinate or not. Ideally, the seeds should do well in temperatures ranging between eighteen and twenty-four degrees Celsius. In a garden shed, maintaining this range should not be a problem. Once the seeds come up, be sure to move them to a point where they can get enough sunlight as lack of this will weaken them. Positioning them towards the southern part of the shed is a sure way to assure them of adequate sunlight.
You will know that the seedlings are ready for the next stage when the leaves begin to form, and the stems are at least three inches tall. At this point, the seedlings should have about four to five leaves. Note that it will take about four to six weeks to get to this stage.
Transplanting Stage
The transplanting time will depend on when the last frost will take place. Ideally, you should transfer the seedlings to the outdoors about three to four weeks before the last frost. You can get this information from your local weather forecast. If you wish to plant the cabbage seedlings during fall, you should schedule the transplanting at about six weeks before the first frost date.
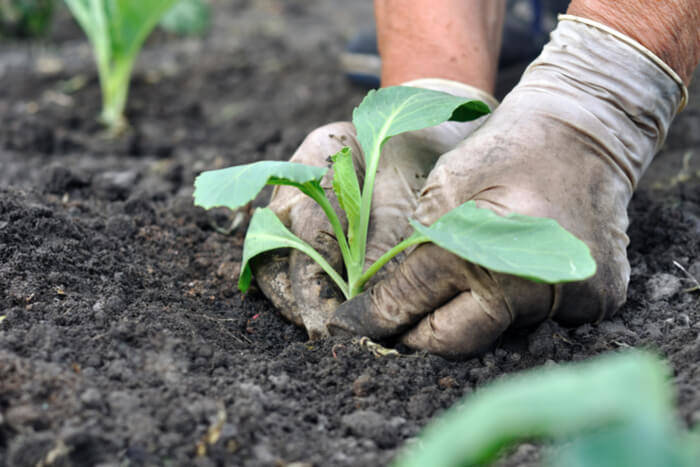
The location you choose for the seedlings is essential, and you need a place that gets about six hours of sunlight each day or more. If you plan on having the cabbages near your garden shed, you should have them on the western side where they can receive a lot of sunlight. If you choose another area, ensure that there are no tomatoes, strawberries, and broccoli in the garden as this will adversely affect the growth of your seedlings. Where there are cucumbers or beans in the garden, your cabbages will do fine.
Once you get a good site, you need to prepare the soil to make sure that it contains adequate nutrients for the growth of healthy cabbages. The best way to do so would be to mix the soil with an equal amount of manure. You should also check the pH range to ensure that it lies somewhere between 6.5 and 7.5 before placing the seedlings in the soil. If the pH is higher than this adding more manure to the seedbed should do the trick. If the vice versa holds, you can deal with this by adding pulverized limestone to the bed.
Plant the seedlings at a depth of half an inch, ensuring that they are at least thirty centimeters apart. The rows should have a sixty-centimeter space in between to ensure that there is no competition for nutrients. The best time to conduct the transplanting would be on a cloudy day as this would prevent the seedlings from exposure to harsh weather elements.
Aftercare
Add a one-inch layer of mulch on the soil as this will not only keep the seedlings safe from pests but it will also regulate the rate of evaporation. You can now water the plants, ensuring that the soil remains moist and not wet. One and a half inches of water should be enough for the seedlings to mature, but if the rainfall is not adequate, you can supplement the supply with irrigation. Once the cabbages approach maturity, you should stop watering them as this can lead to split heads.
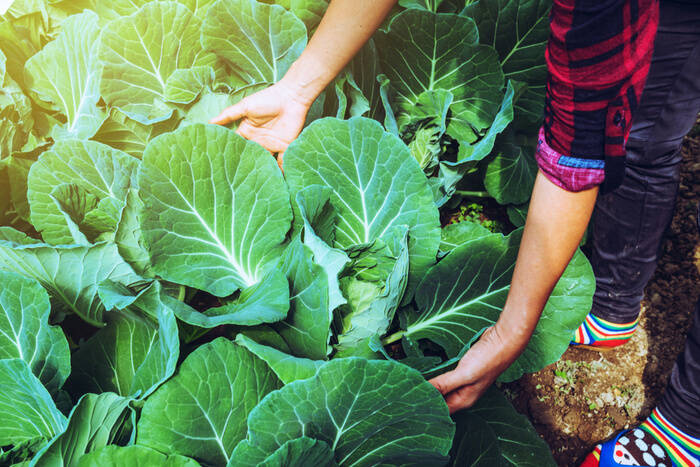
The cabbages should be ready for harvesting about sixty to one hundred days after transplanting. All the best!
