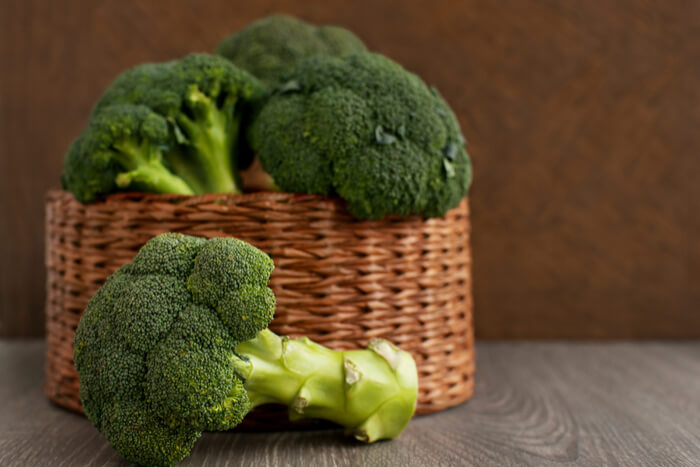
With people moving towards healthy eating habits, broccoli has become one of the most sought-after vegetables with people coming up with new ways to prepare this food. Of all the members of the brassica family, to which this vegetable belongs, broccoli stands as one of the tastiest with numerous vitamins in tow. If you wish to enjoy fresh broccoli throughout the year, you will be happy to know that its cultivation and aftercare requires little effort and you can harvest the crop as much as twice each year, depending on when you plant the seeds. You need to pay note to how much sun the planting site receives as well as the conditions of the soil if you wish to enjoy healthy plants. With this in mind, we can now dive into broccoli growing at home and how to go about it.
Soil Preparation
pH Levels
The condition of your soil plays a significant role in the success of your cultivation, and you thus need to test the soil pH levels. Broccoli does best in soils with pH ranging from 6 to 7, and anything higher or lower than this range will impede the growth of the plants. The good thing about soil pH levels is that you can conduct the tests yourself by getting the kits from gardening stores. You can also engage a local expert to help you with the same if you are unsure of how to go about it. The soil testing is an essential aspect of broccoli growing, and you will conduct the tests regularly throughout the growing cycle to keep the levels in check. Where the pH is below 6, you can alter this by adding planting mix or acid compost into the earth. Where the level is above 7, granular sulfur should do the trick.
The soil test should also let you know when there is a need for essential nutrients in the soil and will thus help you in adjusting nutrient levels to meet the requirements for broccoli best.
Draining Ability
Other than pH levels, you also need to consider the draining abilities of your soil as well as the presence of vital nutrients in the soil. The easiest way to check for draining ability is by digging a hole and filling it with water. You should then let the water rest in the hold for twenty-four hours. Where the water drains at a fast rate or remains in the hole at the end of the period, you should either get another site or adjust the soil mix in play. Again, fill the pit with water and see whether the water drains at a moderate rate. Where the water flows steadily and is no longer present after twenty-four hours, the site is suitable for the growth of broccoli.
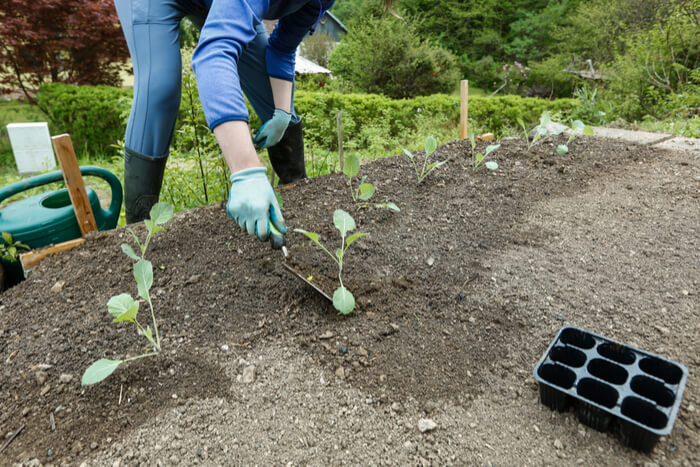
Where the soil in play is prone to flooding, and you cannot think of another site, you can opt to have a garden planter box that will enable you to raise the soil above the ground. In this way, you can alter the draining rates. Where building a planter box, always go with materials that can withstand exposure to water without rotting. An example, in this case, would be cedar.
The nutrient richness of your soil will affect how healthy the broccoli is upon harvesting and where your soil is low in nutrients, you should consider adding some compost to it. Where the soil is in poor condition, adding high-nitrogen organic fertilizers will increase its fertility and will thus enable it to support healthy plants. For broccoli, some of the best organic inputs include manure, alfalfa and cottonseed meal which have been proven to aid the growth of plants.
Site Selection
You need to choose a site that has adequate access to the sun for at least six hours each day. However, as you do so, you should also make allowances for some shade as broccoli does well with some partial cover in play.
Sowing
You can now plant your seeds in the outdoors. Where you plan on harvesting your broccoli in summer, you should aim to plant your seeds at least two to three weeks before the last frost in spring. For people seeking to enjoy their harvest in fall, the sowing should take place about ninety days before the first fall frost.
The seeds should be in rows that are at least thirty-six inches apart and with a spacing of at least twelve inches per hole. You can also sow the seeds with a spacing of six inches, allowing you to thin them out at later stages, such that you end up with hardy plants. Finish the planting by smoothing a layer of soil over the seeds without disturbing them.
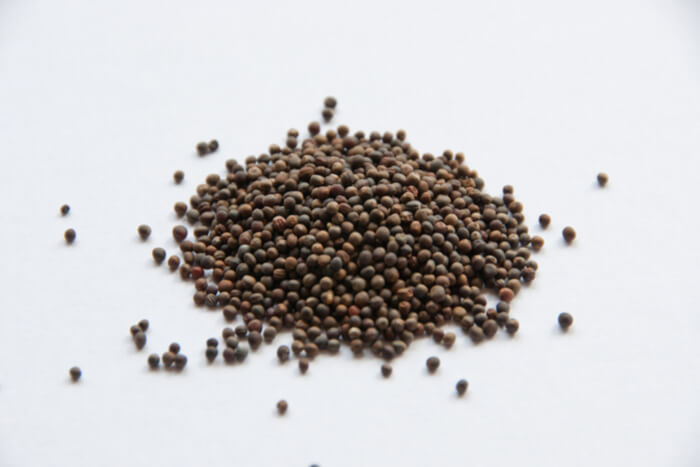
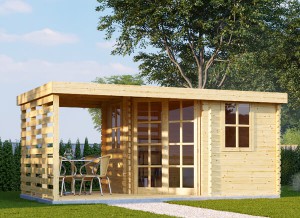
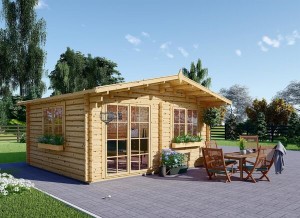
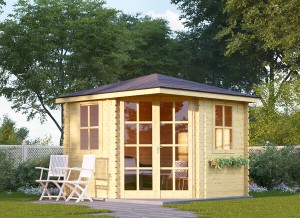
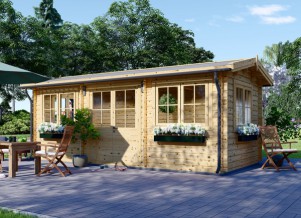
Where the conditions in your region are unfavorable for the growth of broccoli, you can always have the plants indoors, such as in a wooden shed. Here, you can regulate the temperatures, allowing you to have more control over the conditions and thus enjoy a big harvest. You can have the seeds in peat pots or other vessels towards a south facing window where they can receive adequate sunlight. If you plan on having the seeds indoors, you can start them at least two to three weeks before the last frost, even where you intend on later having them in the outdoors.
Having the seeds in separate pots from the beginning ensures that you will not have to thin them out at later stages. However, you can always have them in a large container and remove the weak ones once the plants establish.
Aftercare
Watering
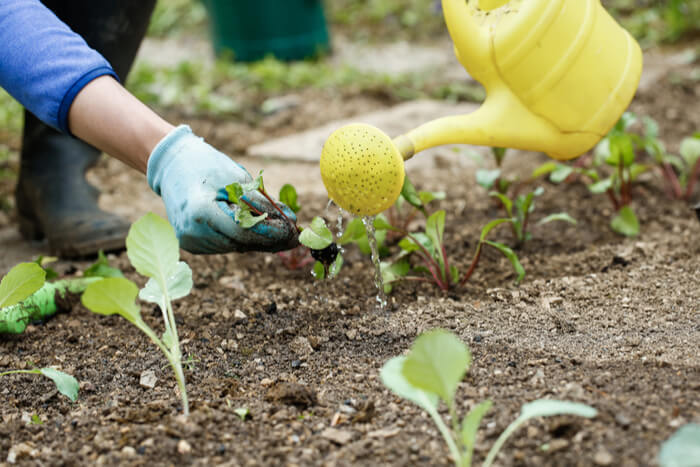
If the seeds are outdoors, proceed to drench the soil upon plating them, ensuring that you do not leave puddles behind. The watering should be regular, but where there is adequate rainfall, you can do without it. Indoors, you can use a spray bottle to moisten the soil, ensuring that you do not wet it.
Temperature
Where the weather is hot, you should have an organic mulch around the plants to keep the soil cool. However, where the weather is cool, a black plastic covering will help in increasing the temperatures, thus enhancing the growth of the plants.
Fertilization
Your plants will require additional nutrients three weeks after planting and adding organic nitrogen-rich fertilizer will help the leaves to develop at a fast rate. You can continue with this process each week until they are mature for harvest.
Harvest
The plants should be ready in 70 days if you sow the seeds in spring, and 90 days if the sowing takes place in fall.
More information about wooden shed. All the best!

